Taming the Templates

I make a lot of paper flowers so I have a lot of templates. Typically when I make a template, I make five or six templates in rising half inch increments per shape.

This enables me to make outer petals and inner petals consistently. It also enables me to make different sized flowers of the same type. I was trying to corral all of my pieces and parts in Ziploc bags. And I had so many Ziploc’s. So then I tried corraling them all in ONE Ziploc, including petals I had cut that I didn’t need for a flower, but had extra.

Each time I would go to look for one of my templates in the bag I would pull out some, but typically had to dig and dig to find all the sizes of the shape I was preparing to use. How do I keep these things together? I tried paper clips. But the paper clips would encourage other papers or chipboard in the bag to get stuck behind it in the wrong grouping and wasn’t a good fit.

I had a container of cute pastel binder clips to use for an upcoming project. Binder clips are tight. And come in various sizes.

So laying out all my templates, and grouping them per their shape, I lined them all up according to their size and binder clipped them together.

Now when I’m looking for a template inside my Ziploc, until I come up with another idea to store them and find them, they are all together in one grab.😊.

Was this tip useful? Do you have a template taming tip to share?

Shadow Box Roses


I have been working on so many different projects in the past few months. This project was created by making 20 paper roses from card stock. I use the 8×11 65 pound card stock from any craft store, Hobby lobby, Michael’s or Joann.   I purchased the Cupid’s Crush bundle from dreamingtree.com and simply used the rose template to cut the roses on my Cricut.  The edges of each petal have been inked to create a bit of depth to the flowers before assembling.  I placed the roses in and even pattern in an 11 x 15 shadow box from Michael’s.  And then used a free SVG file from lovesvg.com to cut the phrase from vinyl to apply to the front of the glass.  This was a gift for a friend  for her library and she loved it.


Giant Rose

I’ve been inspired to make the giant flowers you see as backdrops for photographs and walls.  My first try was a version with rounded petals. I had found a small flower with a more ruffled petal I really liked and couldn’t wait to see if the larger version would be as pretty.  I drew up a petal template in 3 sizes.  8 small, 12 medium and 6 large and proceeded to assemble the rose using a hot glue gun gluing opposite sides until the petals were gone.  I cut a small circle to glue to the back of the flower to neaten the backside.  Finished large rose is approx. 15 inches.  Sherlock is my model.  😊

Wonderland Castle

How fun this castle was to put together!   The Wonderland Castle is another awesome file from 3dsvg.com.   There is a recurring theme here, and that is that I love files from this site and this file was just beautiful!   If you are new to paper crafting, I would suggest starting with a smaller project. The assembly tutorial for this was four hours long and it took me most of a weekend to complete.  Definitely worth the effort!   This will be a beautiful centerpiece for a princess party.   It is large enough to be the center of attention and small enough for a table top. The finished piece is about 16 inches high 15 inches wide and only about eight or 9 inches deep. I’m thinking a boy style castle is in my future by changing the color and embellishment choices.


Monster Valentines

So stinkin’cute!  Valentines from 3dsvg.com.  Its a rainy Saturday, ALL DAY, so i’m working on a couple different projects.  These are fairly quick and straightforward to put together. Embellish however you want.  I have craft supplies galore so i added some puffy heart stickers to some.  And of course you need some Googly Eyes!  Stay tuned….i will be posting a magnificent project by the end of the day today or tomoro!  6940656E-BFC6-4375-8188-8704244F0E38

How I Use My Planner

Are any of you out there like me? I decided this year I was going to go for it! I’m going to get my life in order! I’m really going to take action and create and accomplish goals! Hey, I need a planner for that! And what do you know, they are on sale at Michael’s! And aren’t they all so cute? How do I decide which one is right for me? Well I guess I decided on the one I liked the saying on front the best. I mean, how else do you decide? 
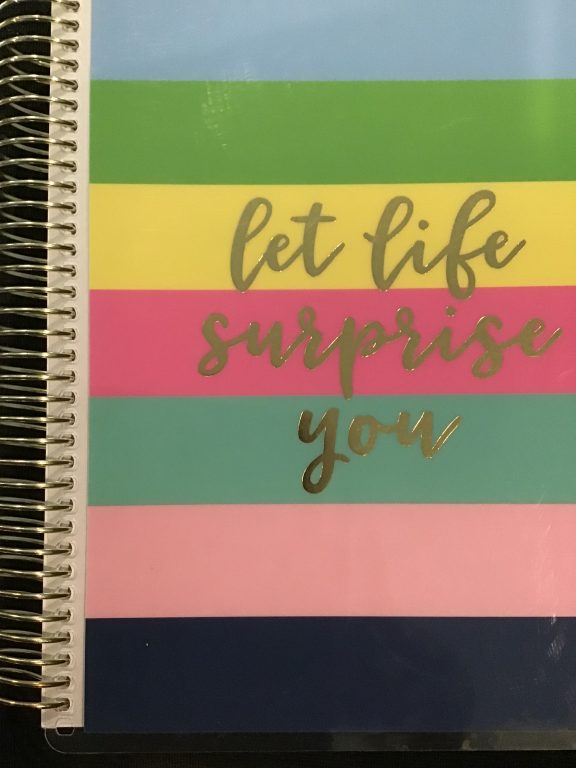
Oh, and Planner Stickers, again, they are all so darn cute. I need a pack of one of everything. 😜 Yes, I know, they are two different sets of stickers for two different types of planners. Of which I think neither set fits my actual planner. But hey that’s why they put a pocket and a zipper pouch in the back. Did I lead you to believe I was good at this yet? LOL

And of course, I bought a budget insert also. I’ve never made a budget before. If I had, the funds available for that category probably would’ve told me not to buy the budget booklet. But I am operating under the utmost giddy excitement of optimism and so the budget planner also, is mine. So this is how the most excellent, most organized, most goalsetting, most productive year begins… or does it?

… fast forward to July…hmmm.. I haven’t quite figured out how to use my planner effectively for my most productive year. It’s really sort of empty still. But my brain is working overtime and all the ideas that swim around in my head are overwhelming me. I want to remember each and every one of them. Because let’s face it, some of those ideas are pretty darn awesome. I have done many things already this year working towards new things that I want, but they haven’t been structured or organized to accomplish any solid goal. I have created fun and pretty things, listened to great audiobooks, gotten oohs and aahs from family members and friends for my efforts. But haven’t moved forward in accomplishments. And I want to. And I have this lovely little planner that is mostly empty to this point mid year. I have got to at least get my thoughts down on paper. And the planner seems like an excellent place to do it.

In February when I first bought my planner and had all these grand plans, of course I got out the stickers and marked each new month starting with February. Because in an unmarked, unmonthed (yeah, I just made up that word) planner you can do this. But as I said, come end of July, all the months since February are pretty much empty. I made a bit of a go of it, but not much.

So I started to use all those blank months as my notepads and category keepers. Because even though I hadn’t been using the planner a lot, I tow it back-and-forth with me each and every day in hopes of using it. So what better place to put all of my random ideas from scraps of paper, notes from my phone, and ideas swimming around in my head.

I apologize. My kitchen table is my main crafting area, and my scribbled notes frequently get buried and lost. It is definitely not an Instagram worthy photo, but it is my life. Quite possibly like some of yours… and all these random notes are what I am trying to corral into one place.

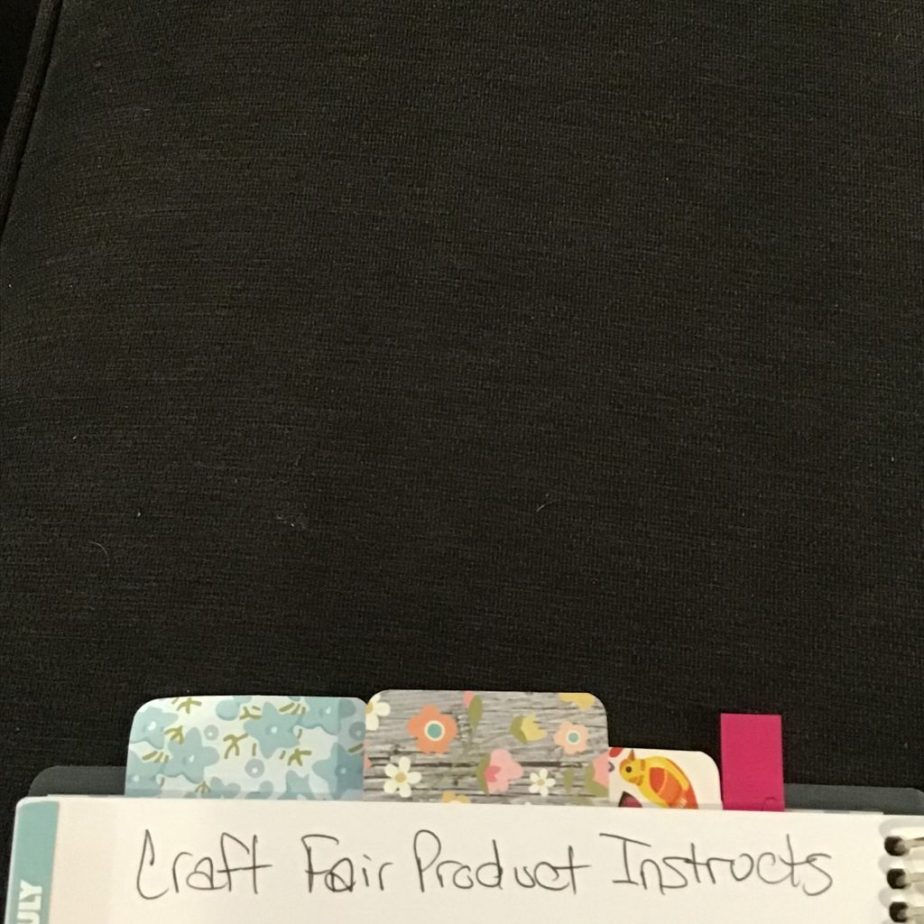
I’m a paperholic. I love card stock, hence this blog. So I have oodles and oodles of pads of pretty card stock. And I have a crafting space with oodles and oodles of SCRAPS of pretty card stock that are being saved for who knows what, but there has to be something crafty I’m saving them for…lightbulb…TABS.. I will be using some of them for tabs for my new categories for my unused planner pages.

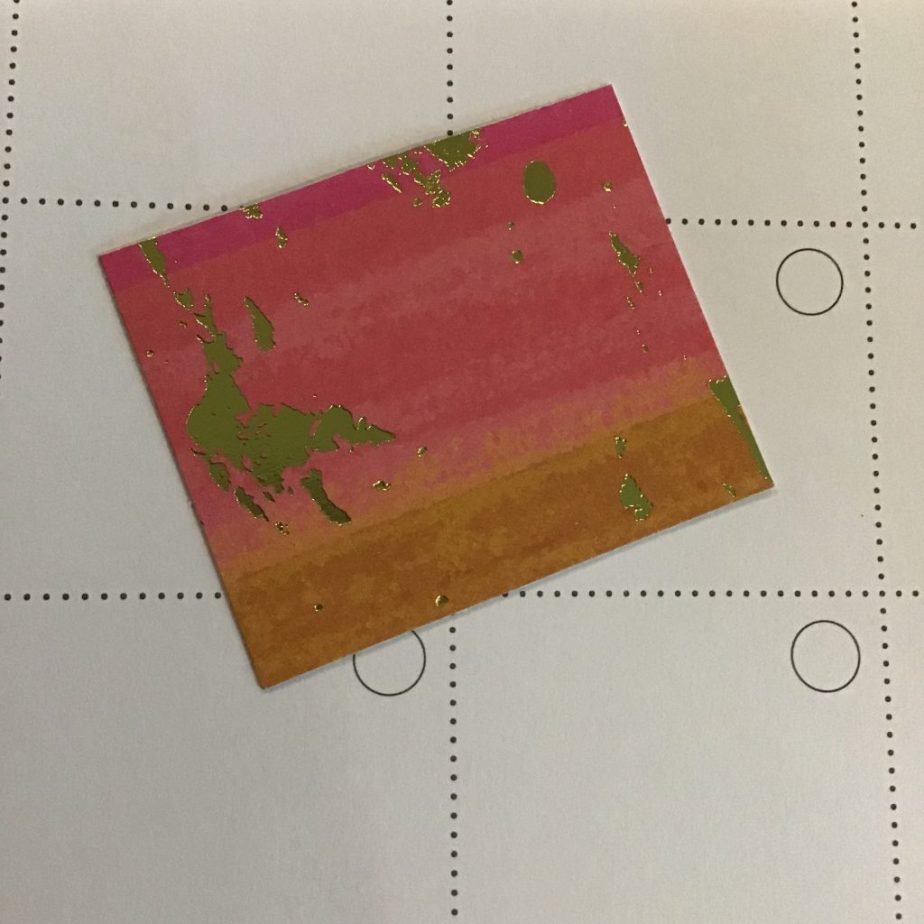
And you know, as an avid crafter, I have a corner rounder. Perfect. I’m going to round the corners of my tabs because, well, it’s just better that way.

I now have three or four categories that I can begin to condense all my thoughts, wishes, and dreams. Goals?… Not yet. But I’m moving in a direction. I’m not sure what direction, but I am moving. And that’s important because in the doing itself, anything you do, anything at all, helps to propel you forward. It is my experience that in the doing, other thoughts and ideas come into play and doors open that you didn’t know existed.

So start by opening that unused planner, jot down anything you want in it and carry it with you every day. If you are a creative person then you have endless thoughts and ideas that you would like to someday implement or create. But sometimes those thoughts and ideas get forgotten no matter how great they were. Get them on paper. Put them in that planner in your empty months at the beginning of the year. And hopefully very soon you will begin to implement those ideas that had gotten lost and you could be one step closer to actually using that goal planner for its intended purpose!

So many crafts, so little time!

I haven’t posted in quite some time but that doesn’t mean I haven’t been crafting away. I have been doing so many things and just hadn’t had time to stop in between to post. I may try to catch you up a bit on all of the creativity that has been happening over the past few months and 2019 is a brand new year or so I hope to get more consistent in posting. Here’s to a new year!

Miss to Mrs Banner

123987D8-A377-496E-A4D6-6AF3B2EE359F

A quick little project for a Bridal Shower.  A banner doesn’t have to be elaborate to look great. The simple white and kraft paper color with natural twine is a great choice for a nature inspired shower whether it’s a baby shower, a bridal shower, or a birthday party.  The Pretty Pennants cartridge from Cricut makes the scalloped backside and slicing out the letters in Cricut Design Space from the kraft colored front paper means you don’t have to additionally cut and glue letters to the front. This eliminates one  step in putting the banner together.  You will be ready to hang this beautiful banner on a buffet, a wall, or a mantle in just about 30 minutes.  

Shadow Box Roses


I have been working on so many different projects in the past few months. This project was created by making 20 paper roses from card stock. I use the 8×11 65 pound card stock from any craft store, Hobby lobby, Michael’s or Joann.   I purchased the Cupid’s Crush bundle from dreamingtree.com and simply used the rose template to cut the roses on my Cricut.  The edges of each petal have been inked to create a bit of depth to the flowers before assembling.  I placed the roses in and even pattern in an 11 x 15 shadow box from Michael’s.  And then used a free SVG file from lovesvg.com to cut the phrase from vinyl to apply to the front of the glass.  This was a gift for a friend  for her library and she loved it.


Giant Paper Flower

979AF319-5B59-43B9-9028-EBE777640AEE

So I have been completely enamored by the giant paper flowers that you see as backdrops for weddings or showers or parties.  I’m not really sure why but I thought they would be difficult. I found a short YouTube video this evening and figured I’d give it a shot.  The video was eight minutes long and truthfully it didn’t take too much longer than that to make the flower. I cut it all by hand without a template that the video mentions. If you’ve already done some paper crafting it’s not too hard to do.  And even if you haven’t it’s pretty straightforward.  You will need nine sheets of 8 1/2 x 11 card stock and a glue gun  and scissors. So this is the result and I see many more giant paper flowers in my future!  Here’s the link I found to be super simple.  My completed flower is about 15 inches in diameter. https://youtu.be/2rCXkv0V2r0